

You don’t need to own Searching for Cicadas to do this activity. But here’s what the book looks like.
It’s written by Lesley Gibbes and illustrated by Judy Watson. Published in 2019 by Walker Books Australia.
It’s about the life cycle of cicadas, but also about family and connecting with nature, and it’s set in Australia.
You can make the activity as simple or as complex as you like. It’s suitable for all ages. Take an hour, or take a week on it. Budding field naturalists may like to make a life of it.
Part One: How I illustrated the endpapers for Searching for Cicadas

First I went outside into the garden. I took photos of the leaf litter under some trees. I gathered up samples of twigs, leaves (both green and decomposing ones), seeds, cones and feathers. I also walked into our local nature reserve and collected other samples.


I spread these samples out on my work bench, and began drawing and painting them, attempting to capture the character of the plants: the branching patterns, the blobs of lichen on the stems, the angles and curves. I had no particular method. I was just playing, and seeing what might come out of it. I knew I would be using the best bits, discarding lots, changing some up on the computer.


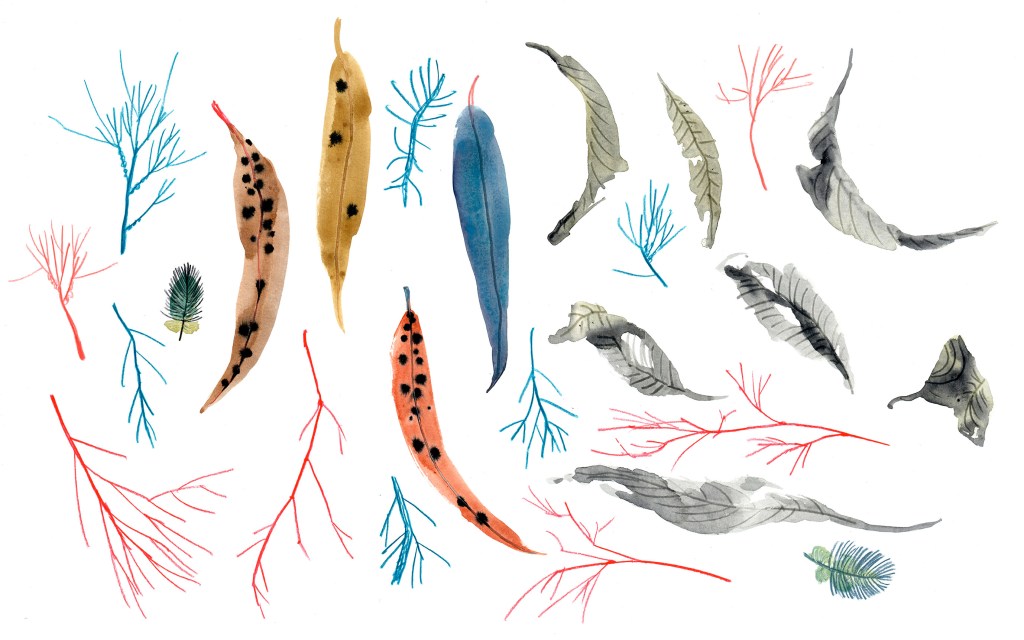
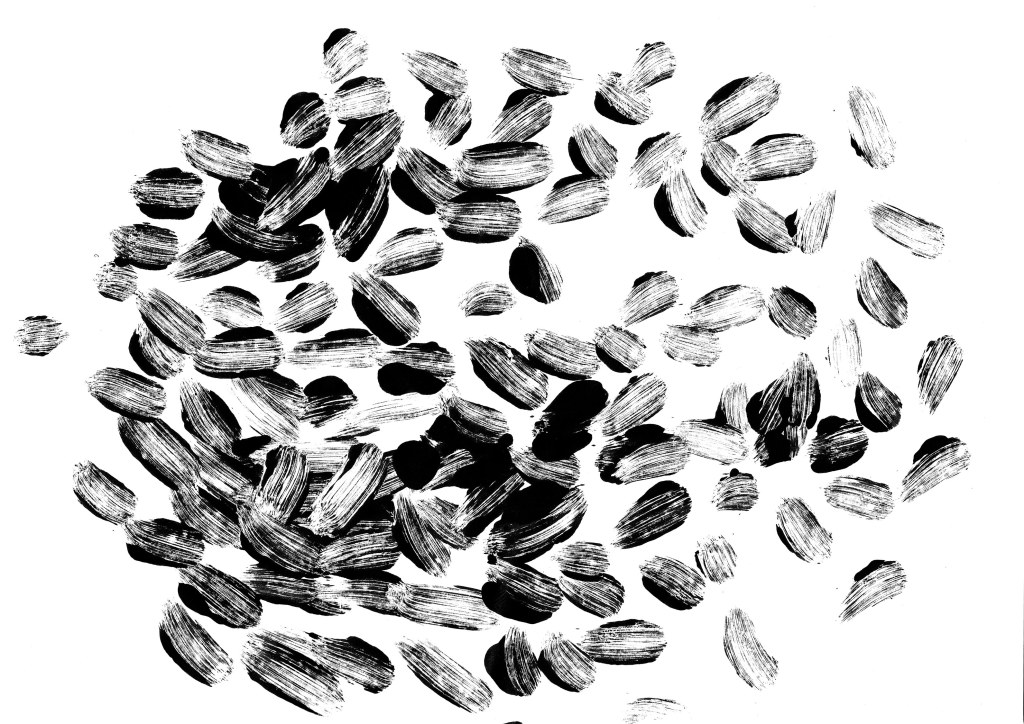
The next part was scanning and assembling the artwork in PhotoShop. It’s not so relevant here. Except for one thing. My job was to find the music in the arrangement of pieces. They needed to fill a rectangle, but also more. They needed to dance across it using the power of their shapes, their colours and their textures.
Now it’s time for you to make stuff!
Part Two: beginning your leaf litter project


Part Three: making a leaf litter collage


All you need is a piece of paper or cardboard to stick things on, scissors, a glue stick and whatever art materials you like. You can begin by drawing on the paper to make a background. And after that, keep adding layers until your collage feels just right.
At the end, don’t forget that a good trim can make a world of difference. Is there a bit you don’t like? Cut it off. Your collage can change shape; become smaller. YOU are the boss of your artwork. (Not Mum, Dad or a sibling. And especially not the cat.) Enjoy!
Bonus Challenge: what is that?
• See how many plants you can identify.
• Are they local or exotic species?
• What are some of the ways that botanists or horticulturalists identify plants?
• How many insects or evidence of other wild animals did you spot? Can you find out about their life cycle?
• Do you think any of the plants and animals depend on each other? (In Searching for Cicadas, we find out that the Black Prince cicada is found mostly on She-okes near a river.)
• Are there feathers? What bird do you think they came from? (use your detective skills)
• Make a poster and draw (or glue onto it) all of the things you found. Are some of them connected to each other? (For example, does a beetle live in a rotting log? Why do you think he lives there?) What have you found out about nature in your chosen space?
Bonus Challenge: Focus on one element (as an illustrator)
Pick one creature or plant and make a special study of it. Read about it and draw it lots of times until you can do it fairly easily, without copying a photo. (This is what I had to do with cicadas.)


Have you mastered a plant or animal? Now make your special plant or animal into a character and write a story or comic strip about it. Hooray!
Bonus Mini-challenge: seasons
At a different time of the year, what do you think you would see in the same space? Would it be different? Make a drawing to show what you think it might look like.
Additional information
For a book that teaches children about the anatomy of a book, including endpapers, try Parsley Rabbit’s Book about Books by Frances Watts and David Legge.
For general information about endpapers, you could try this, or this blog post.
If you’re in Victoria, Australia, and you love plants, animals and the natural world, you can join the Victorian Field Naturalists Club. There are meetings and great activities for kids and adults, and you can meet people who love the same stuff! If you’re somewhere else, you can probably find a club near you. Get your hands and feet dirty!
My acacia (wattle) ‘leaves’ in the collage above are not really leaves. They are actually phyllodes. My next activity wanders into the anatomy of acacias. You can find it here, later today.

this is TOTALLY gorgeous
LikeLike
Thank you Liz! X
LikeLike
This blog will publish on IF FIVE MILLION PEOPLE on Facebook Spain time 8am tomorrow. 17 April. Then Twitter and Instagram a few days after.
LikeLiked by 1 person
Thanks Nick.
LikeLike
That was quite fascinating how you developed that. I’ve not been aware all this time that you collected pieces and worked them together like that. Amazing. Thank you. You should be working with classes without a doubt. Love and admiration Mum xx
Sent from my iPad
>
LikeLike
Thanks Mum. Xx
LikeLike
this is SOOOOO wonderful, thanks for the step by step process, I love it so much
LikeLike
You’re most welcome, Annerose. I hope you enjoy doing it. 😊
LikeLike
Pingback: Endpapers (part one) | endpapers